


Hey there! I'm a supplier of oil seals, and today I wanna share with you how to install oil seals correctly. Whether you're a DIY enthusiast or a professional mechanic, getting the oil seal installation right is super important. A proper installation can prevent leaks, extend the lifespan of your equipment, and save you a ton of headaches down the road.
Pre - installation Preparation
First things first, before you even think about installing an oil seal, you gotta do some prep work. Check the seal for any visible damage. Look for cracks, nicks, or uneven surfaces. If you find any issues, don't use that seal. You can reach out to us as your oil seal supplier, and we'll get you a new one.
Next, clean the shaft and the housing where the seal will be installed. Any dirt, debris, or old seal residue can mess up the installation and lead to leaks. Use a clean, lint - free cloth and a suitable cleaning solvent. Make sure the surfaces are completely dry before you move on.
Choosing the Right Oil Seal
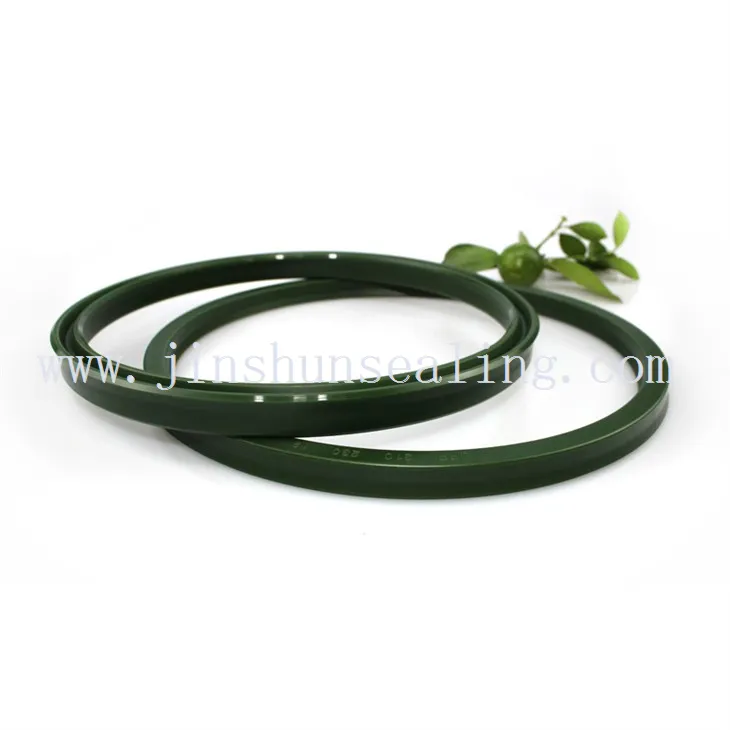
Picking the right oil seal for your application is crucial. There are different types of oil seals, like Engine Valve Stem Oil Seal, which are specifically designed for engine valve stems. These seals help keep oil from leaking into the combustion chamber.
Another type is the Oil Seal Washer. Washers are often used in conjunction with oil seals to provide additional support and a better seal. And then there's Oil Seal Silicone, which offers excellent resistance to high temperatures and chemicals.
When choosing an oil seal, consider factors like the shaft diameter, the operating temperature, the type of fluid it'll be in contact with, and the pressure conditions. If you're not sure which seal is right for you, just give us a shout. We've got a team of experts who can help you make the right choice.
Lubrication
Lubricating the oil seal is an important step. Use a lubricant that's compatible with the fluid the seal will be in contact with. A little bit of lubricant goes a long way. It helps the seal slide into place easily and reduces the risk of damage during installation. Apply the lubricant evenly to the lip of the seal and the shaft where the seal will sit.
Installation Process
Now, let's get to the actual installation. First, align the oil seal with the housing. Make sure it's centered and straight. You can use a seal installer tool, which makes the job a whole lot easier. If you don't have one, you can use a socket or a piece of tubing that's the right size.
Gently tap the seal into place using a mallet or a hammer. But be careful not to hit it too hard. You want to apply even pressure around the circumference of the seal. If you hit it unevenly, the seal can get distorted, and that'll lead to leaks.
Once the seal is in the housing, check to make sure it's seated properly. It should be flush with the housing surface. If it's not, you might need to adjust it or remove it and try again.

Shaft Installation
After the seal is in the housing, it's time to install the shaft. Make sure the shaft is clean and lubricated. Slowly insert the shaft into the seal. Again, be gentle. If you force the shaft in, you can damage the seal lip.
As the shaft goes in, keep an eye on the seal. Make sure it doesn't roll or twist. If you notice any problems, stop and correct them before proceeding.
Post - installation Checks
Once the installation is complete, do a quick visual check. Look for any signs of damage to the seal. Check the area around the seal for any signs of misalignment.
It's also a good idea to run a test. Start the equipment and let it run for a little while. Check for any leaks. If you see any oil dripping or seeping, you might have an issue with the installation. It could be a problem with the seal itself, or it could be due to improper installation.
Common Mistakes to Avoid
One of the most common mistakes is using the wrong size seal. This can lead to leaks right from the start. Always double - check the specifications before you buy.
Another mistake is not cleaning the surfaces properly. Dirt and debris can cause the seal to fail prematurely.
Over - tightening or under - tightening the seal can also be a problem. Over - tightening can damage the seal, while under - tightening can lead to leaks.
Maintenance Tips
To keep your oil seals in good condition, regular maintenance is key. Check the seals periodically for signs of wear and tear. Replace them if you notice any damage or if they're starting to leak.
Keep the area around the seals clean. This helps prevent dirt and debris from getting into the seal and causing damage.
Why Choose Us as Your Oil Seal Supplier
We've been in the oil seal business for a long time. We offer a wide range of high - quality oil seals at competitive prices. Our seals are made from top - notch materials and are designed to meet the highest industry standards.
We have a great customer support team. If you have any questions about oil seals, installation, or anything else, we're here to help. We can provide you with technical advice and guidance to ensure you get the right seal for your application and install it correctly.
If you're in the market for oil seals, or if you have any questions about the installation process, don't hesitate to get in touch. We're always happy to have a chat and help you out with your oil seal needs. Whether you're a small business or a large industrial operation, we've got the products and the expertise to serve you.
References
- "Handbook of Seal Technology"
- "Sealing Technology for Rotating Equipment"