


Hey there! As a supplier of Nitrile Oil Seals, I often get asked about the tools needed to install these seals properly. In this blog post, I'm gonna break down all the essential tools you'll need for a successful nitrile oil seal installation.
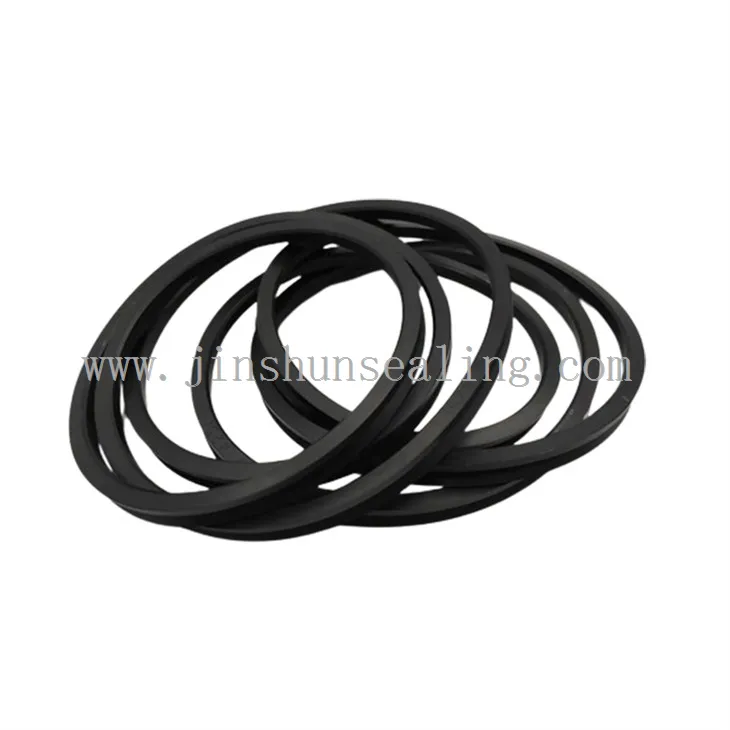
First off, let's talk about why nitrile oil seals are so popular. Nitrile rubber, also known as Buna-N, is a synthetic rubber that offers excellent resistance to oil, fuel, and other petroleum - based products. These seals are commonly used in a wide range of applications, from automotive engines to industrial machinery. They help prevent leaks, keep contaminants out, and ensure the smooth operation of equipment.
Now, onto the tools!
1. Seal Installer Set
A seal installer set is an absolute must - have. This set typically includes different sized cups and drivers that are designed to fit various seal diameters. When you're installing a nitrile oil seal, it's crucial to press it evenly into the housing. Using a proper seal installer ensures that the seal goes in straight and doesn't get damaged during the installation process. You can find seal installer sets at most auto parts stores or online. Just make sure to choose a set that has the sizes you need for your specific application. For example, if you're working on a small engine, you'll need smaller - sized installers, and for larger industrial equipment, larger ones will be required.
2. Screwdrivers
Screwdrivers come in handy for a few different reasons during the installation. If you need to remove any covers or access panels to get to the seal location, a flat - head or Phillips - head screwdriver will do the job. Sometimes, there might be screws holding a component in place that needs to be removed before you can install the new seal. Also, if you need to adjust or remove any clips or fasteners around the seal area, a screwdriver can help with that too.
3. Pliers
Pliers are another useful tool. Needle - nose pliers can be used to grab small parts or remove old seals. If the old nitrile oil seal is still in place and you're having trouble getting it out, you can use the pliers to grip the edge of the seal and pull it out. Slip - joint pliers can be used for larger or more stubborn seals. You can also use pliers to bend or adjust any metal tabs or clips around the seal area if needed.
4. Socket Wrenches
These are essential for removing and installing bolts. In many cases, there will be bolts holding the housing or the component where the oil seal is located. You'll need the right size socket wrenches to loosen and tighten these bolts. Make sure you have a set of socket wrenches in different sizes so you're covered for any application. A ratchet handle is also a great addition to your socket wrench set as it allows for quick and easy turning of the sockets.
5. Hammer
A small hammer can be used in combination with the seal installer. Sometimes, you might need a gentle tap with the hammer to seat the seal properly into the housing. But be careful! You don't want to hit it too hard as that could damage the seal. A rubber or plastic mallet is even better as it provides a softer impact and reduces the risk of damage to the seal.
6. Seal Puller
If you're replacing an old nitrile oil seal, a seal puller is a handy tool. It's designed specifically to remove the old seal from the housing without causing damage to the surrounding components. There are different types of seal pullers available, such as hooked pullers and slide - hammers. Choose the one that's appropriate for the type of seal and housing you're working with.
7. Lubricant
Before installing the nitrile oil seal, it's a good idea to lubricate it. You can use a suitable lubricant, like petroleum jelly or a specialized seal lubricant. The lubricant helps the seal slide into place easily and reduces the risk of damage during installation. It also helps to create a better seal once it's in place. Just apply a thin layer of lubricant to the lip of the seal and the inside of the housing.
8. Measuring Tools
Accurate measurements are crucial when it comes to installing a nitrile oil seal. You'll need a caliper or a micrometer to measure the diameter of the shaft and the housing. This ensures that you select the right size seal for the job. If the seal is too big or too small, it won't work properly and could lead to leaks or premature failure. So, take the time to measure carefully before you start the installation.
9. File
A file can be used to smooth any rough edges or burrs on the housing or the shaft where the seal will be installed. Rough surfaces can damage the seal and cause leaks. By using a file to smooth these areas, you'll help ensure a proper fit and a long - lasting seal.
10. Cleaning Supplies
Before installing the new seal, it's essential to clean the seal area thoroughly. You can use a degreaser and a clean cloth to remove any dirt, oil, or debris from the housing and the shaft. This helps the seal seat properly and reduces the risk of contaminants getting trapped between the seal and the surfaces.
Now, as a supplier of Nitrile Oil Seals, I can tell you that having the right tools is only half the battle. You also need to choose high - quality seals. That's where we come in! We offer a wide variety of nitrile oil seals that are suitable for different applications. Whether you're looking for Universal Oil Seals, Oil Seal Silicone, or Inner Oil Seal, we've got you covered.
If you're in the market for nitrile oil seals or have any questions about installation tools or processes, don't hesitate to reach out. We're here to help you make the right choice for your needs and ensure a hassle - free installation.

References
- Machinery's Handbook: A comprehensive reference for mechanical engineering and manufacturing.
- Automotive Repair Manuals: These manuals provide detailed information about vehicle components and their installation.
- Industrial Equipment Manufacturer Guides: They offer specific guidelines for the installation and maintenance of equipment.