

Installation of EPDM O - rings is a crucial process that significantly impacts the performance and longevity of sealing applications. As a reliable EPDM O - ring supplier, we understand the importance of guiding you through the correct installation steps.
Understanding EPDM O - Rings
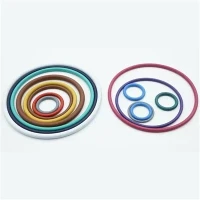
EPDM (Ethylene Propylene Diene Monomer) O - rings are widely used in various industries due to their excellent weather resistance, ozone resistance, and heat stability. They are commonly found in automotive, plumbing, and industrial applications. These O - rings are made from a synthetic rubber compound that offers a high level of flexibility and resilience, which is essential for creating a tight seal.
If you are in search of high - quality EPDM O - rings, you can check out our Metric Epdm O Rings and O Ring in EPDM options.
Pre - installation Preparation
Before you start the installation process, several preparatory steps are necessary to ensure the best results:
1. Inspection
Examine the EPDM O - ring carefully for any visible defects such as cuts, nicks, or deformities. Even the smallest imperfection can lead to leaks and premature failure. Any damaged O - ring should be discarded, and a new one should be used.
Additionally, inspect the mating surfaces of the housing and the gland. The surfaces should be clean, smooth, and free of burrs, rust, or other contaminants. Rough surfaces can damage the O - ring during installation and compromise the seal.
2. Cleaning
Clean the O - ring and the mating surfaces using a suitable cleaning agent. For EPDM O - rings, a mild soap and water solution is usually sufficient. Avoid using solvents that may damage the EPDM material, such as ketones, aromatic hydrocarbons, and chlorinated solvents.
After cleaning, ensure that all parts are thoroughly dried. Moisture can cause issues during installation and may lead to corrosion or other problems over time.

3. Lubrication
Applying a compatible lubricant to the O - ring can make the installation process easier and reduce the risk of damage. The lubricant should be selected based on the specific application and the chemical compatibility with the EPDM material. A silicone - based or a vegetable - based lubricant is often a good choice for EPDM O - rings.
Apply a thin, even layer of lubricant to the entire surface of the O - ring. Make sure not to over - lubricate, as excessive lubricant can attract dirt and debris, which may also affect the sealing performance.
Installation Steps
1. Select the Correct Size
Ensure that you have chosen the right size of EPDM O - ring for your application. The O - ring should fit snugly in the gland, with the correct cross - section diameter and inner diameter. Using an incorrect size can lead to poor sealing, excessive stress on the O - ring, and premature failure.
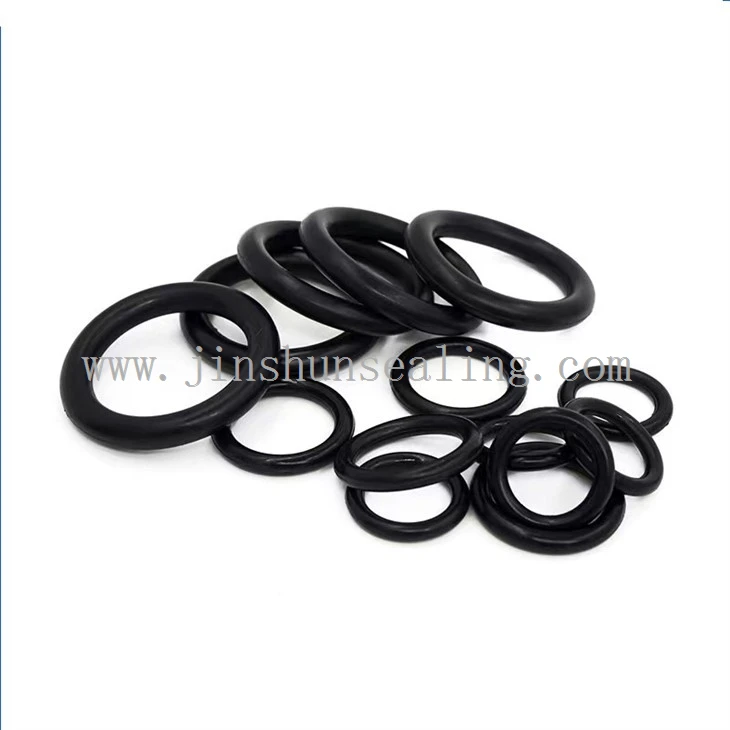
Refer to the manufacturer's specifications or the engineering drawings to select the appropriate size. If you are unsure, you can always contact us for assistance. We offer a wide range of EPDM Rubber Ring sizes to meet your specific needs.
2. Pre - stretch the O - ring (if necessary)
In some cases, it may be necessary to pre - stretch the O - ring slightly to facilitate installation. However, this should be done carefully to avoid over - stretching, which can damage the O - ring. A general rule of thumb is to keep the stretch within 5 - 10% of the original inner diameter.
Use a pair of smooth - edged pliers or a special O - ring installation tool to gently stretch the O - ring. Make sure to stretch it evenly to prevent uneven stress distribution.
3. Insert the O - ring into the gland
Place the lubricated O - ring into the gland. Start by aligning one side of the O - ring with the gland opening and then carefully work the rest of the O - ring into the gland. Avoid twisting or kinking the O - ring during this process, as it can lead to poor sealing and premature failure.
If the O - ring is difficult to insert, you may need to check the gland size and ensure that it is clean and smooth. You can also try using a different installation method or applying more lubricant.
4. Check the O - ring position
Once the O - ring is inserted into the gland, check its position to ensure that it is properly seated and centered. The O - ring should fit evenly in the gland, with no gaps or bulges. If the O - ring is not properly seated, gently adjust it using a suitable tool.
5. Assemble the parts
After the O - ring is correctly installed in the gland, assemble the mating parts. Make sure to align the parts properly and tighten the fasteners gradually and evenly. Over - tightening the fasteners can cause the O - ring to be compressed too much, leading to extrusion and loss of sealing performance. On the other hand, under - tightening can result in leaks.
Post - installation Checks
1. Visual inspection
After assembling the parts, perform a visual inspection of the O - ring and the sealing area. Check for any signs of damage, such as cuts, tears, or extrusion. Also, make sure that the O - ring is still properly seated and centered in the gland.
2. Leak test
Conduct a leak test to ensure that the O - ring is providing an effective seal. The type of leak test will depend on the specific application. For example, in a hydraulic system, you can apply pressure and check for any visible leaks. In a gas - sealing application, you can use a tracer gas or a soap - bubble test.
If a leak is detected, disassemble the parts, check the O - ring for damage or improper installation, and reinstall it properly.
Troubleshooting Common Installation Problems
1. O - ring damage during installation
If the O - ring is damaged during installation, it is usually due to rough handling, sharp edges on the mating parts, or improper installation tools. To prevent this from happening, make sure to handle the O - ring gently, deburr all mating surfaces, and use appropriate installation tools.
2. O - ring extrusion
Extrusion occurs when the O - ring is forced out of the gland under pressure. This can be caused by excessive compression, high fluid pressure, or a too - large gap between the mating parts. To prevent extrusion, use the correct O - ring size, ensure proper gland design, and control the operating pressure within the recommended range.
3. Leaking
Leaking can be caused by various factors, including improper O - ring installation, damaged O - rings, or incorrect pressure or temperature conditions. If a leak occurs, first check the installation to ensure that the O - ring is properly seated and centered. Then, inspect the O - ring for any damage. If necessary, replace the O - ring with a new one.
As an EPDM O - ring supplier, we are committed to providing you with high - quality products and professional installation guidance. If you have any questions or need further assistance with the installation of EPDM O - rings or are interested in purchasing our products, please feel free to contact us for a detailed discussion.
References
- "Sealing Technology Handbook", edited by H. K. T. Feng, this handbook provides comprehensive information on various sealing mechanisms and materials, including EPDM O - rings, and offers in - depth guidance on installation and troubleshooting.
- "Rubber Sealing Products: Design, Manufacture and Application" by John A. Brydson, which offers detailed insights into the properties of rubber materials like EPDM and the best practices for their use in sealing applications.